This time we want to teach you eliminar Reimage Repair from your computer clearly and easily, To achieve this, you have to continue reading and carry out each step that we explain in this article..
What does Reimage Repair mean??
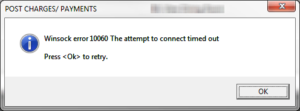
Reimage Repair is a program that is usually the creator of faults in your operating system, Thus, it is best to remove it. In itself, this program is not a virus, but a analyzer of your computer that usually creates problems to the equipment.
What should you do to remove Reimage Repair from your PC?
The best thing you can do is eliminate it completely and thus avoid errors that may be generated on your computer. To make it, you can use these easy to install tools:
- Software Plumbytes.
- SpvHunter 4.
- Anti-malware which is also from Plumbytes.
Its main function is to detect Reimage Repair on the computer and then proceed to remove it completely. Namely, everything related to your folders, files and even your registry keys will disappear.
CUT TO SLICES: As with all types of hardware hijackers, bug generators or even toolbars, it is always necessary to remove them.
How should you remove Reimage Repair manually from your PC?
There are several manual alternatives to fix these problems that decrease the functionality of your computer. Se trata básicamente de determinados trámites que se realizan a través del control PanelThe "Control Panel" It is an essential tool in the field of systems management and supervision. Allows users to monitor and manage various functionalities of a software or hardware from a single interface. Through graphics, indicators and interactive options, access to relevant information is facilitated, which optimizes decision making. Control panels are used in different sectors, including technology,....
Your results have a 99% reliability, but you must follow each step perfectly to get the removal of this program.
Remove it from Windows XP
- First you must go to the button Start to see all the equipment configuration.
- Then select Control Panel.
- If you created a shortcut on your desktop, go directly to this option.
- Move the cursor to Add programs or remove programs.
- There you will see the list of all programs installed on your computer.
- You must look for the program Reimage Repair.
- Then click Uninstall.
- Once the program is done, will have been definitively eliminated.
Remove it from Windows 7
This procedure is similar to the previous one, just change the folder containing all the programs. Namely, instead of looking for the option “Add programs or remove programs”, you should look in the Control Panel for the alternative that says Uninstall a program, select Reimage Repair and remove it.
Remove it from Windows 8
For Windows 8 the procedure is very similar, the steps are:
- To start you should go to Menu.
- Then you must click Look for, where it will be much easier to find the Applications.
- As we noted above, type in the search engine applications or applications and access the folder.
- Now click on Programs.
- when i do, you will get a list, must select Uninstall a program.
- Finally, point the cursor to the Reimage Repair folder and press Uninstall, to finish the process.
Remove it from Windows 10
In this version of Windows, if you give us of the different alternatives to remove Reimage Repair permanently. It is recommended to try the first option, and if it is not possible to delete it, opt for the second alternative.
Below we explain in detail the two options:
First option:
- As in the other methods, point the cursor to the button Start to view the computer menu.
- Look on the right side Settings and click.
- Look for the option that says System and enter it.
- Then you must go to the alternative Apps and Features, in which you will get a list of all apps.
- Find Reimage Repair.
- Finally you must click on Uninstall On the right side, and ready.
Second option:
This alternative is much simpler since we abbreviate many steps, for this you must:
- Press the button Start.
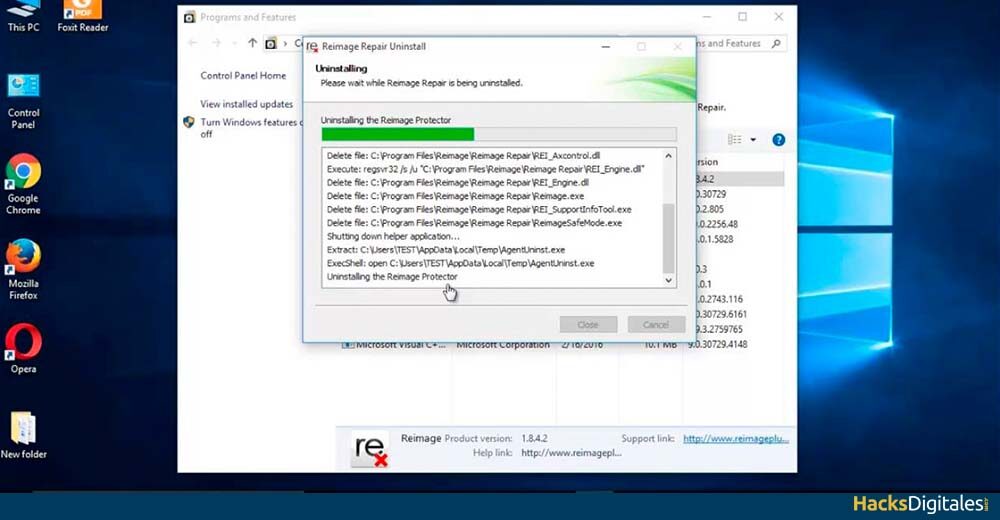
- When the menu is open, go to Programs and characteristics.
- Once there, locate the Reimage Repair program, what's on the list.
- double click to get it Uninstall.
- pressing it, you will have completely removed it from your computer.
Another alternative to remove Reimage Repair from your PC
In many cases the option Uninstall it is not enough to remove the program from your computer. It may happen that the access to delete does not appear.
That's why we recommend tools like SpvHunter 4 o Anti-Malware, so you can remove it in a safer and more reliable way. You can also use the advanced options that we show you below:
- Ir Menu of your PC and restart the team.
- Before the PC boots normally, press the key F8, use it as a kind of starter.
- Once this is done, will take you directly to Advanced Options so you can see your menu.
- with the keyboard, elija Safe ModeThe "Safe Mode" It is an essential tool in operating systems and electronic devices that allows you to start the system with a minimum set of drivers and services. This mode is useful for troubleshooting., remove viruses or restore settings. When you activate Safe Mode, Users can identify and correct faults that prevent the device from functioning properly. Usually, Safe Mode is accessed by pressing a specific key during boot.. and press Pay in.
- Wait for Windows to load and go to Control Panel.
- Find the list of programs and then select Reimage Repair.
- Ends with Uninstall.